
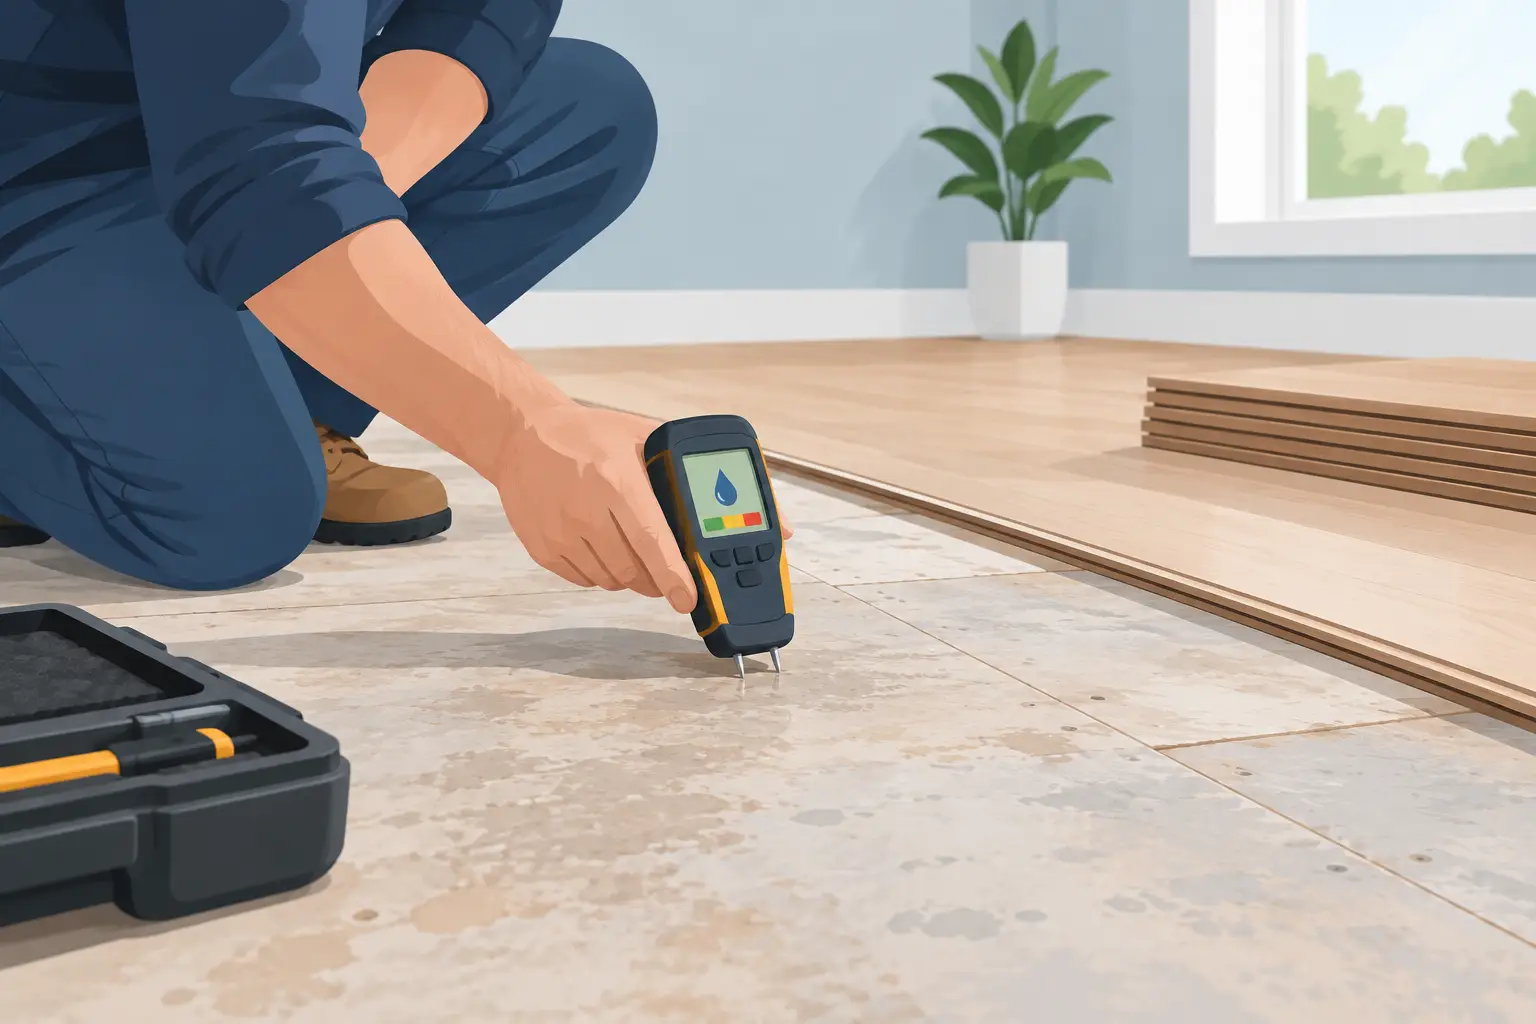
A beautiful new floor can be ruined from underneath. Before bamboo, SPC or any floating floor goes down, knowing how to assess subfloor moisture is one of the most valuable checks on the whole project. Get it wrong and you can face cupping, movement, mould, adhesive failure or warranty issues. Get it right and your floor has the stable base it needs to perform for years.
For Northland and Auckland homes, moisture is not a theoretical problem. Humid summers, older timber-framed homes, coastal conditions, ground moisture and newly poured concrete all need proper attention. A subfloor that looks dry is not necessarily dry enough for flooring.
Start by identifying the subfloor
The correct moisture test depends on what sits beneath your new floor. Most homes will have either a concrete slab or a suspended timber subfloor, and each behaves differently.
A concrete slab can hold significant moisture long after it feels hard and dry to the touch. This is especially common in new builds, extensions, garages converted into living areas and slabs that have been exposed to rain during construction. Surface appearance is not a reliable measure.
A suspended timber subfloor needs a different assessment. Here, the concern is usually moisture within the timber, restricted airflow below the house, plumbing leaks, poor ground drainage or dampness rising from bare earth. Moisture can also vary from room to room, particularly around bathrooms, laundries, kitchens and exterior doors.
Before testing, establish whether there are multiple substrates. A renovation may have original timber floors in one room, particleboard in another and a concrete addition at the rear. Each area should be assessed on its own merits, not treated as one uniform surface.
How to assess subfloor moisture on concrete
Concrete needs a recognised moisture test, completed at the right time and interpreted against the flooring manufacturer's requirements. A handheld moisture meter can be useful for a quick indication, but it should not be the final word on a concrete slab. Readings can be influenced by the slab density, surface condition and reinforcing steel.
The most dependable approach for many flooring installations is in-situ relative humidity testing. Small holes are drilled to the specified depth, test sleeves are inserted and calibrated probes measure the humidity inside the slab. This gives a clearer picture of the moisture that may move upwards after the floor is installed.
Calcium chloride testing is another method used to measure moisture vapour emissions from the slab surface. It can be suitable where a product system permits it, but it measures conditions at the test location and time. Relative humidity testing often provides a better indication of moisture deeper in the slab.
Testing needs to happen in several locations, not just the driest corner of the room. Larger areas, doorways to wet rooms, exterior walls, low spots and areas near plumbing should receive particular attention. If one test result is high, do not assume it is an isolated inconvenience. Find out why.
Concrete does not dry to a fixed timetable. The often-quoted drying rule of roughly one month per 25 mm of slab thickness is only a rough starting point under favourable conditions. Cool weather, high humidity, enclosed rooms, curing compounds, poor ventilation and additional levelling products can all slow the process considerably.
Check the floor covering specification first
There is no single acceptable moisture figure for every floor. The permitted relative humidity or vapour-emission level depends on the flooring product, underlay, adhesive and moisture barrier system being used.
SPC flooring is highly water-resistant on its face, but that does not make an unmanaged wet slab acceptable. Excess moisture can affect underlays, promote mould and create problems at joins, skirtings and adjacent materials. Bamboo flooring is a natural material and needs an even more disciplined approach to site conditions, acclimatisation and moisture control.
The right question is not, “Is this slab dry?” It is, “Does this slab meet the installation requirements for this exact flooring system?” That is the standard that protects the finished result.
Assessing moisture in timber subfloors
For suspended timber floors, use a quality pin-type moisture meter to test the structural timber and any sheet subfloor. Take readings across the room, including the perimeter and locations near likely moisture sources. A single reading in the middle of the lounge tells you very little.
Look below the floor where access allows. You are checking for damp soil, standing water, leaking pipes, wet insulation, mould, timber staining, decay and inadequate ventilation. The underside of the flooring structure can reveal a problem that is completely hidden from above.
A moisture meter reading should be considered alongside the surrounding conditions. Timber moisture content changes with seasonal humidity, so readings need to be stable and appropriate for the product being installed. If the floor has recently been exposed to rain, a leak or a wet cleaning event, allow time for it to dry and then retest rather than pushing ahead on a hopeful reading.
Particleboard and plywood subfloors deserve special attention. Swollen edges, softened sections, staining or a spongy feel underfoot can indicate previous water damage. Drying alone may not restore structural integrity. Damaged sheets may need replacement before a new floor is installed.
Do not overlook the source of the moisture
Testing confirms a condition. It does not automatically solve the cause. If moisture is elevated, the best result comes from identifying where it is coming from before selecting a fix.
Common causes include a missing or damaged ground vapour barrier, blocked subfloor vents, poor fall around the house, leaking shower plumbing, overflowing gutters, cracked external cladding, wet concrete or an ineffective damp-proof membrane below the slab. In newer homes, moisture may simply be construction moisture that has not had enough time and ventilation to leave the building.
Moisture barriers, primers and compatible underlays can be excellent parts of a flooring system. They are not a shortcut around an active leak, drainage failure or water entering beneath the house. Covering an ongoing issue can make it harder and more expensive to repair later.
If the reading is borderline, consider the whole picture. Is the slab still drying after construction? Is the room going to be air-conditioned? Will a heavy rug sit over the area? Is there full sun through large glazing that creates major temperature swings? Professional flooring assessment is about these combined conditions, not just one number on a test report.
Prepare the subfloor after testing
Once moisture is within the required range, the substrate still needs to be clean, flat, sound and dry at the surface. Remove adhesive residue, dust, loose levelling compound, paint overspray and anything that could compromise the underlay or adhesive.
Flatness matters just as much as moisture, particularly with rigid-core composite flooring. An SPC plank will not correct a hollow, ridge or uneven slab beneath it. It may bridge over the problem initially, then flex, click or wear poorly over time. High spots may need grinding and low areas may need an approved levelling compound, allowed to cure and dry properly before installation.
For timber subfloors, secure loose boards or sheets, address squeaks where possible and ensure fixings are not proud. Check that expansion gaps, door clearances and transitions have been considered before materials arrive. These are small details, but they separate a quick job from a floor installed to the point of perfection.
When to bring in a flooring specialist
A homeowner can spot obvious signs of dampness and take preliminary meter readings, but professional testing is worthwhile when the project involves a new slab, an older house, visible mould, recurring leaks, expensive flooring or any reading that is close to the product limit.
It is also the sensible option where several trades have been involved. A flooring installer can assess the substrate, advise what preparation is required and match the moisture-management system to the chosen floor. That avoids the costly scenario where a beautiful product arrives on site but cannot responsibly be installed.
At Trade Flooring NZ, the site measure is where these details are dealt with before installation day, not discovered once furniture has been moved and planks have been opened. The goal is straightforward: clear advice, the right preparation and a floor that performs as well as it looks.
A moisture test is not the glamorous part of choosing a new floor. It is, however, the check that gives every visible part of the job a fair chance to last. If there is any doubt beneath your feet, test first and install once.