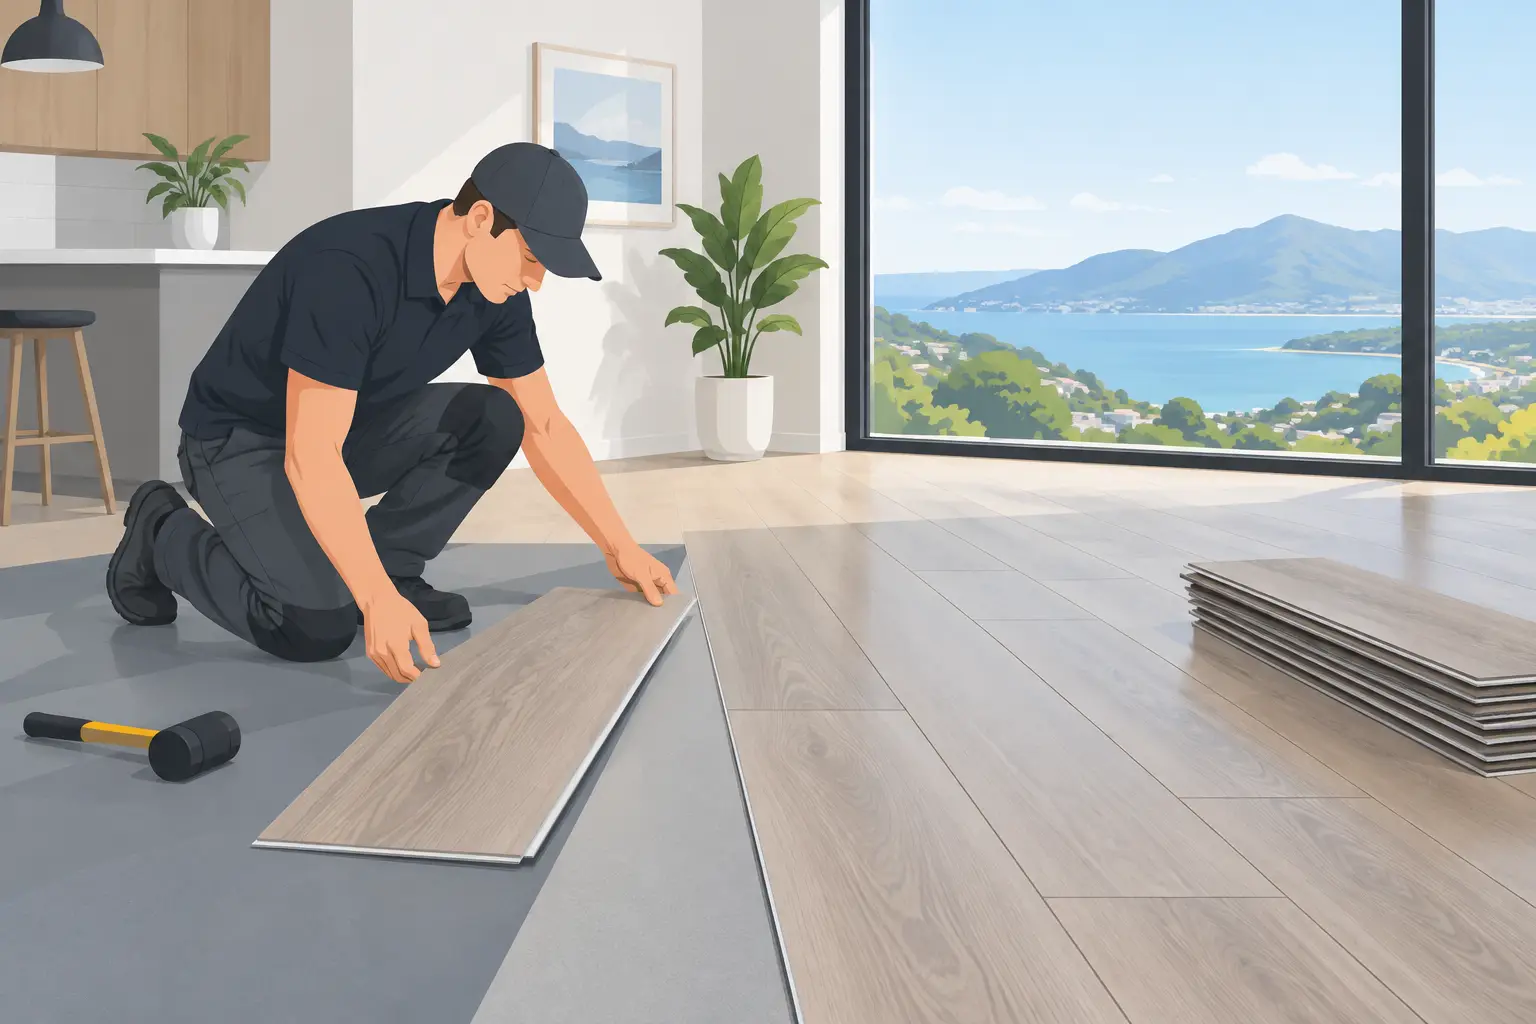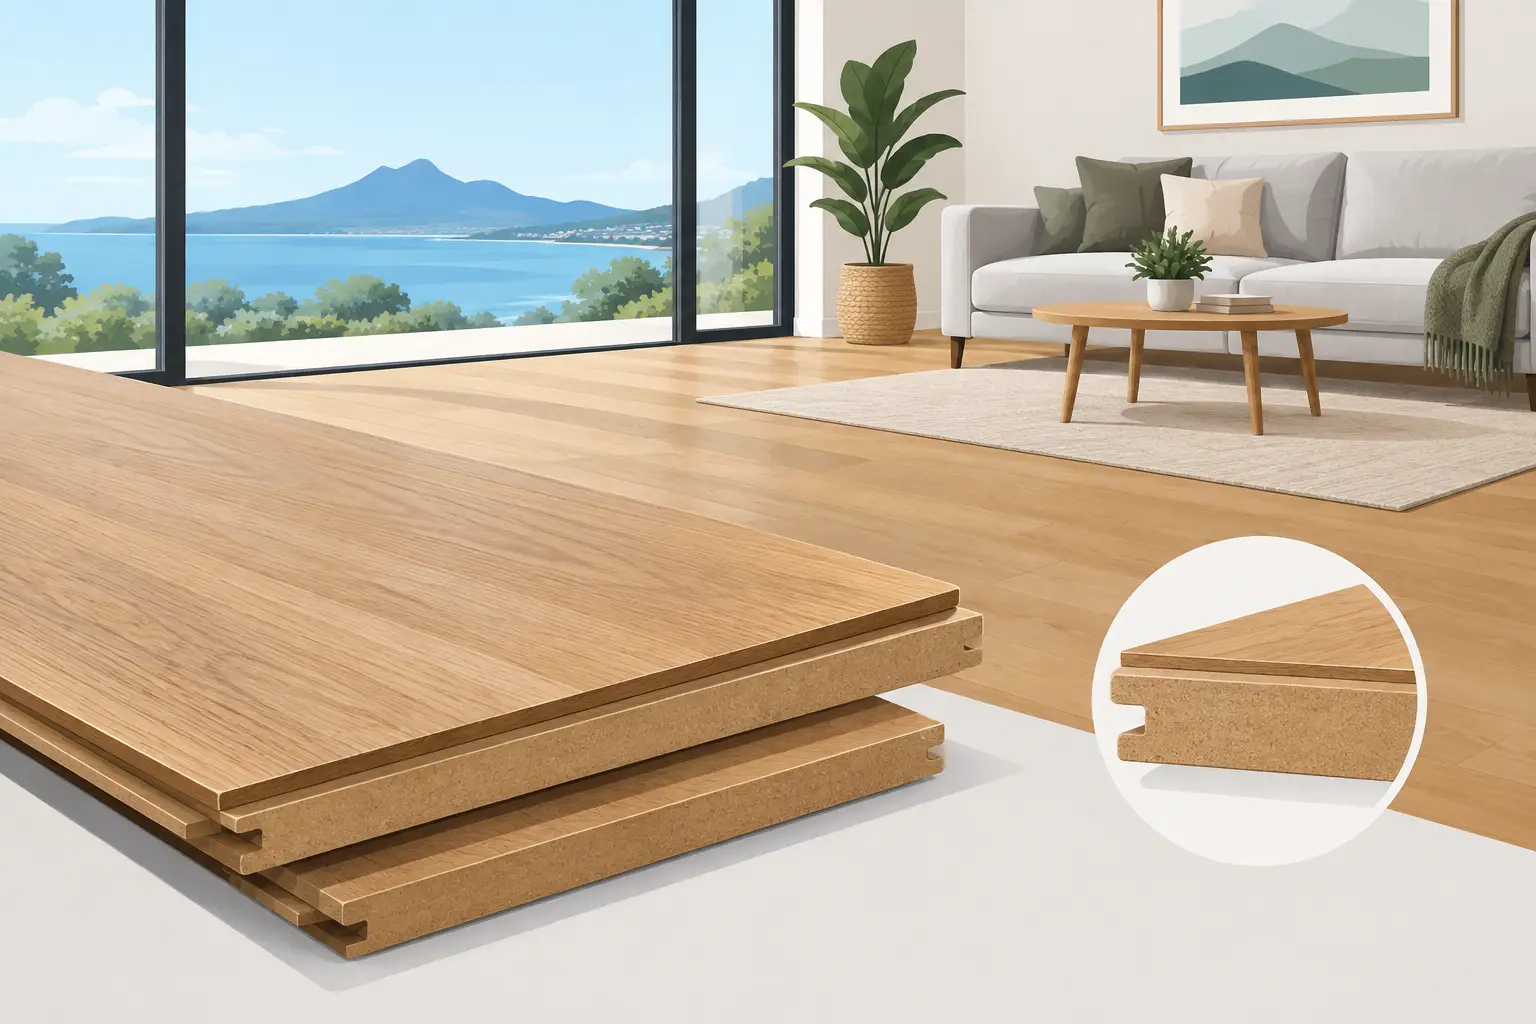
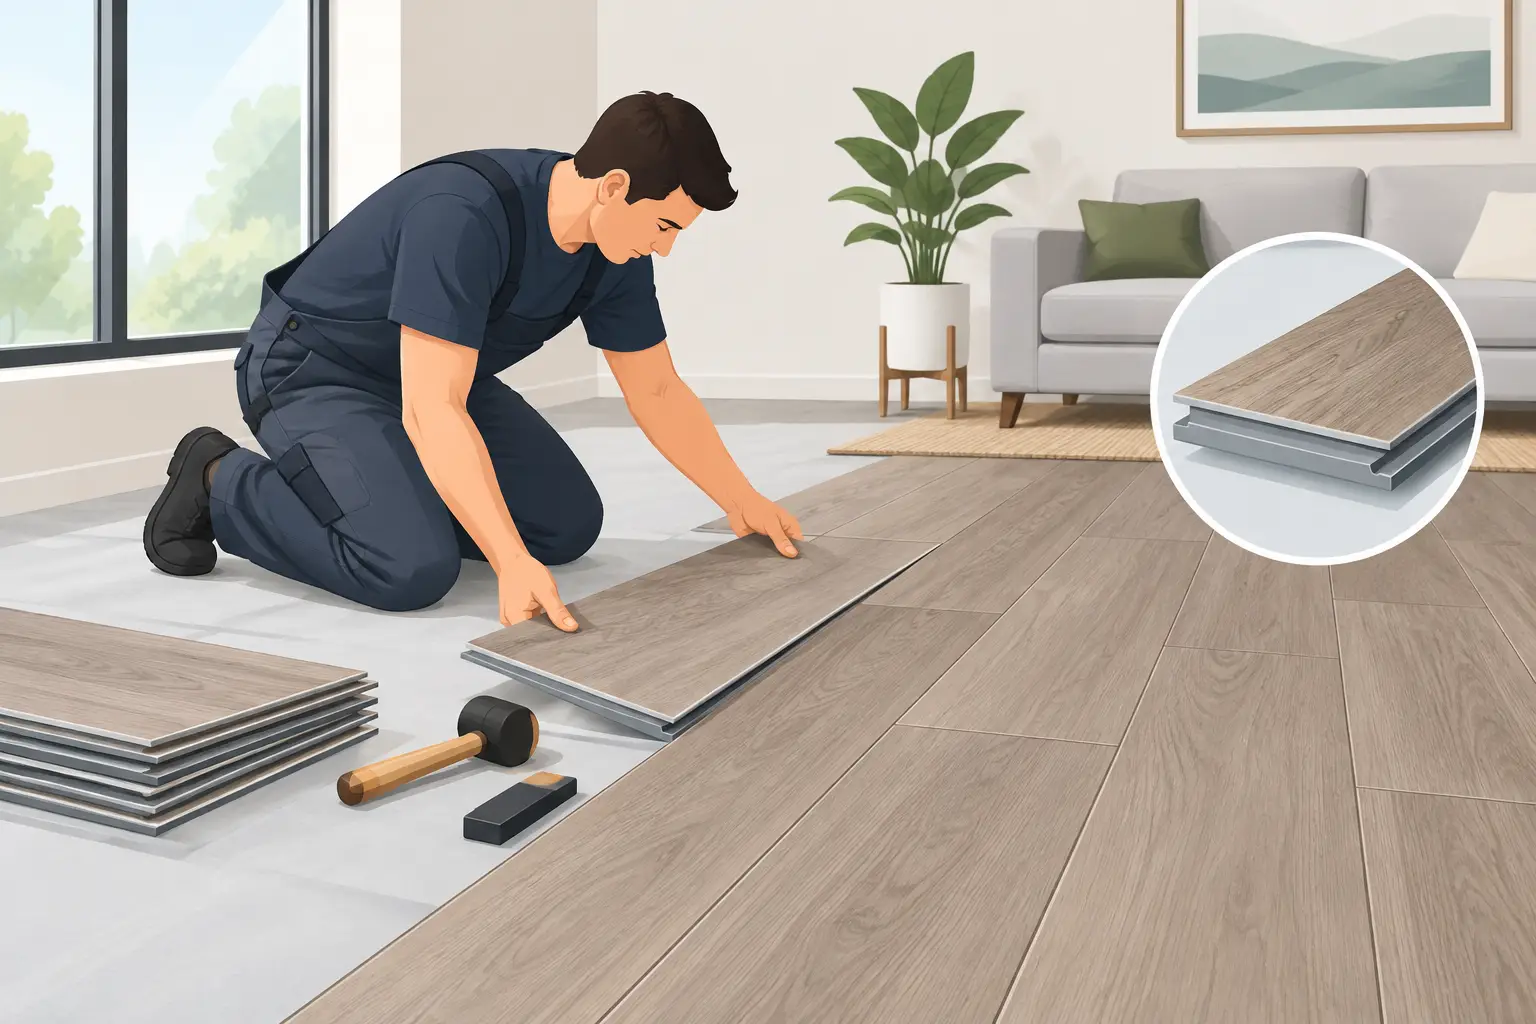
A click-lock floor can look straightforward until the first row runs out of square, a doorway pinches the boards, or summer sun hits a large glazed room. Knowing how to install SPC flooring properly is less about rushing planks together and more about getting the base, gaps and finishing details right before the first board goes down.
SPC flooring - stone polymer composite flooring - is tough, stable and well suited to busy NZ homes with kids, pets and muddy shoes. But it is still a floating floor. It needs a flat, clean substrate and room to move around the perimeter. Skip those fundamentals and even premium flooring can creak, separate or develop raised edges.
Check the room before you order flooring
Start by measuring the length and width of each section of the room, including wardrobes, hallways and any connected spaces that will receive the same floor. Add a sensible allowance for cuts, typically 5 to 10 per cent depending on room shape and the amount of waste created around doorways and angled walls.
Then inspect the subfloor. SPC can be installed over many sound, dry surfaces, including properly prepared concrete, plywood, particleboard and existing hard flooring. It is not a solution for a failing floor underneath. Loose tiles, uneven patches, damaged sheet flooring and movement in timber subfloors need to be corrected first.
Use a long straightedge to check flatness. The exact tolerance depends on the product, so follow the installation specification supplied with your chosen floor. As a practical rule, obvious hollows and high spots should be fixed before installation. A rigid plank will bridge a small imperfection, but it will not hide it forever. Foot traffic finds weak points quickly.
Concrete must also be dry enough for the product and installation method. New slabs can retain moisture for longer than expected, especially through a damp Northland winter. Test rather than guess. If moisture readings are outside the flooring requirement, address the issue with the appropriate moisture barrier or wait until the slab is ready.
Plan how to install SPC flooring before opening boxes
Bring the unopened cartons into the home and store them flat in the room where they will be installed. Although SPC is more dimensionally stable than many timber products, the flooring should be conditioned according to the manufacturer’s instructions and kept away from extreme heat or cold before fitting.
Decide which direction the boards will run. In most rooms, running planks along the longest wall or towards the main source of natural light gives a cleaner visual result. In a long hallway, boards generally look best running with the hallway rather than across it. There is no single rule, though. The layout should work with the shape of the home, adjoining rooms and feature areas such as sliders or an island bench.
Measure the room width and calculate the size of the final row. If the last row will be a very narrow strip, rip the first row narrower so the first and last rows look balanced. This is a small planning step that separates a tidy installation from one that looks like it was forced to fit.
Before starting, check every carton for matching product, colour and batch. Blend boards from several packs as you work to avoid putting similar grain patterns or shade variations in one area. Natural-looking variation is part of a good floor, but obvious clusters are avoidable.
Tools and materials worth having ready
Have the work area clear before beginning. Stopping halfway through a row to hunt for a tool is how boards get damaged. You will generally need:
- A tape measure, pencil, chalk line and straightedge
- A sharp utility knife or suitable saw for the specified product
- Spacers, a tapping block and a pull bar designed for click flooring
- Safety glasses, knee protection and a vacuum or broom
- Underlay or moisture barrier where the product specification requires it
- Matching trims, scotia or skirting materials for the final finish
Do not use a hammer directly on an SPC plank. A damaged locking edge may still appear to join, then open up once the floor is walked on.
Prepare the substrate and underlay correctly
Remove carpet, underlay, staples, nails and loose debris. Vacuum thoroughly. Even small pieces of grit can stop boards sitting flat and create a crunching sound underfoot.
If skirting boards are being replaced, remove them before the installation. If existing skirtings will remain, the expansion gap can later be covered with scotia or a suitable trim. Door jambs should be undercut where practical so the flooring slides underneath rather than being shaped tightly around the frame. It looks better and preserves the movement gap.
Whether you need underlay depends on the product and substrate. Some SPC ranges have an attached acoustic backing and must not be installed over an additional soft underlay. Others require a separate underlay, particularly over concrete or where sound reduction is needed. Use only the underlay and vapour-control layer approved for the flooring. Thick, spongy underlays can allow too much flex in the click system.
Roll out any required moisture barrier or underlay in the specified direction, keeping joins neat and taped where required. The floor should feel supported, not cushioned.
Start straight and keep the expansion gap clear
Choose the most visible long wall as your reference point, but do not assume the wall itself is straight. Snap a chalk line if needed. Your first row controls every row after it, so take the time to get it true.
Place spacers between the flooring and walls, pipes, cabinetry, door frames and other fixed objects. The required perimeter gap varies by product and room size, but it is commonly around 8 to 10 mm. Check the product instructions and do not fill that space with adhesive, nails or tightly packed offcuts.
Lay the first plank with the correct side facing the wall, then connect the end joints to complete the row. Cut the final plank to length, remembering to allow for the expansion gap. Use the offcut to begin the next row only if it provides an appropriately staggered end joint. Avoid short repeat patterns and keep end joins separated by the minimum distance specified for the product.
Click the boards together without forcing them
Most SPC planks use an angle-and-click system. Hold the new board at the required angle, engage the long side into the previous row and lower it carefully until the joint locks. Then join the short end according to the product’s locking design. Some systems need the short end engaged before the plank is lowered, while others work in the reverse order.
The key is to follow the particular profile, not force a method from another brand onto it. If a board will not lock, stop and inspect the groove for dust, a chipped edge or a board that is not properly seated. A pull bar and tapping block are useful for closing a small gap at the end of a row, but excessive force is a warning sign.
Check regularly that the floor is staying square and that joints are tight. Step back every few rows. It is far easier to correct a drifting layout early than pull up half a room later.
Doorways, kitchens and large glazed areas
Doorways are a common failure point because the floor can become trapped. Leave the required movement space, then cover it with an appropriate transition trim where separate rooms or different floor coverings meet. Larger continuous areas may also require expansion breaks, depending on the flooring specification and room layout.
Kitchen cabinets, islands and fixed joinery should generally sit on the subfloor, not on top of a floating SPC floor. Heavy fixed items can restrict movement and put stress on the locking system. Freestanding furniture is fine, but use wide protective pads under legs rather than sharp, narrow feet.
Large windows and stacker doors deserve extra attention in Auckland and Northland homes. SPC handles daily living well, but intense sun through glazing can create substantial surface heat. Follow the product guidance for direct sun exposure, allow the correct perimeter clearance and consider blinds, curtains or suitable window treatments where heat is extreme.
Finish the edges without pinning the floor
Once the final row is in place, remove all spacers. Install skirting, scotia and aluminium trims so they cover the expansion space without pressing down on the flooring. The trim is fixed to the wall, jamb or adjacent substrate - never through the floating plank.
Fit transition trims at exterior doors, carpet joins and level changes. Check that doors open freely and that no edge is rubbing. Give the completed floor a final vacuum, then inspect it in natural light for unclosed joints, damaged boards or trim gaps.
Most SPC floors can be walked on as soon as the installation is complete, but leave heavy furniture until trims are secure and move it carefully into place. Lift rather than drag. Regular sweeping, a well-wrung damp mop and entrance mats will keep the floor looking sharp without harsh cleaners or steam.
A clean finish comes from preparation, not shortcuts. If the subfloor is questionable, the room has major sun exposure, or the job runs through multiple open-plan spaces, a professional measure is money well spent. Trade Flooring can assess the site, specify the right DualCore® flooring system and install it to the point of perfection - so the finished floor performs as well as it looks.